
Cooking brown rice in a pressure cooker is an effective way to enjoy a healthier meal without wasting too much time. How to Cook Brown Rice in Pressure Cooker Brown rice, unlike white rice, retains its outer bran and germ, making it richer in nutrients such as fiber, vitamins, and minerals. By using a pressure cooker, you can enhance your meal preparation efficiency and optimize the cooking process. Here’s a comprehensive guide on how to cook brown rice in a pressure cooker.
How to Cook Brown Rice in Pressure Cooker
Step 1: Measure and Choose the Right Type of Rice
The first step in the cooking process is to choose the appropriate variety of brown rice. For optimal results, it is recommended to use hand-pound brown rice. This type of rice retains more nutrients compared to regular varieties and produces less starch, which is important for achieving non-sticky rice. Measure out one cup of rice as the standard portion size for your recipe.
Step 2: Soak the Rice
Soaking brown rice is a crucial step to enhance both its texture and nutritional content. The phytic acid found in rice can bind minerals and reduce their absorption. Soaking brown rice for about 20 to 30 minutes helps to break down these compounds, making the rice easier to digest and increasing its bioavailability of nutrients. After soaking, rinse the rice thoroughly under cool water to remove excess starch.
Step 3: Prepare the Pressure Cooker

Next, add the soaked and rinsed rice into the pressure cooker. For every cup of brown rice, add two cups of water. This ratio is essential to ensure the rice absorbs the correct amount of water during the cooking process. Optionally, you can add salt to taste. Himalayan pink salt is recommended due to its rich mineral content, but any salt will suffice. Stir the mixture lightly to distribute the salt evenly.
Step 4: Begin Cooking the Rice
Now that your rice is in the cooker, it’s time to start the cooking process. Cover the pressure cooker with its lid and place the pressure weight on top once steam starts to escape. This will create the necessary pressure for cooking. Allow the cooker to whistle once, signaling that the pressure has been achieved. Immediately reduce the heat to low and let the rice cook for exactly 10 minutes.
Step 5: Allow Pressure to Release
Once the 10 minutes have passed, turn off the heat and leave the pressure cooker undisturbed for about 15 minutes to allow the pressure to release naturally. This step is essential for ensuring the rice does not become overcooked. During this time, the rice continues to steam and absorb any remaining moisture.(How to Cook Brown Rice in Pressure Cooker)
Step 6: Fluff and Serve
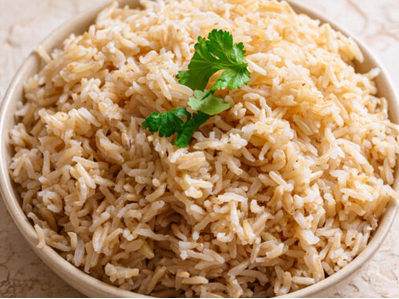
After the 15-minute waiting period, open the pressure cooker and fluff the rice using a fork. This helps to separate the grains, resulting in a light and fluffy texture. You’ll notice that the rice is non-sticky and perfectly cooked, making it the ideal addition to any dish. Transfer the rice to a serving bowl and enjoy.
Recipe Video:-
Benefits of Cooking Brown Rice in a Pressure Cooker
Using a pressure cooker to prepare brown rice offers several benefits. First, it significantly reduces cooking time, allowing you to prepare brown rice in just 20 minutes. Second, pressure cooking helps to preserve the nutritional integrity of the rice, ensuring you get the maximum amount of fiber and other essential nutrients. Additionally, the technique prevents the rice from becoming mushy or overcooked, resulting in consistently fluffy rice every time. (How to Cook Brown Rice in Pressure Cooker)
Conclusion
In conclusion, learning how to cook brown rice in a pressure cooker is a great way to streamline your cooking process while ensuring that you get the full nutritional benefits of this whole grain. With minimal effort, you can enjoy perfectly cooked, non-sticky brown rice that supports your health and fits seamlessly into a variety of meals. This method is not only efficient but also preserves the taste and texture of the rice, making it the preferred method for many home cooks.
For a detailed recipe, also read this blog on” How to Cook Vegetable Biryani in a Rice Cooker: A Step-by-Step Guide“.